
Features
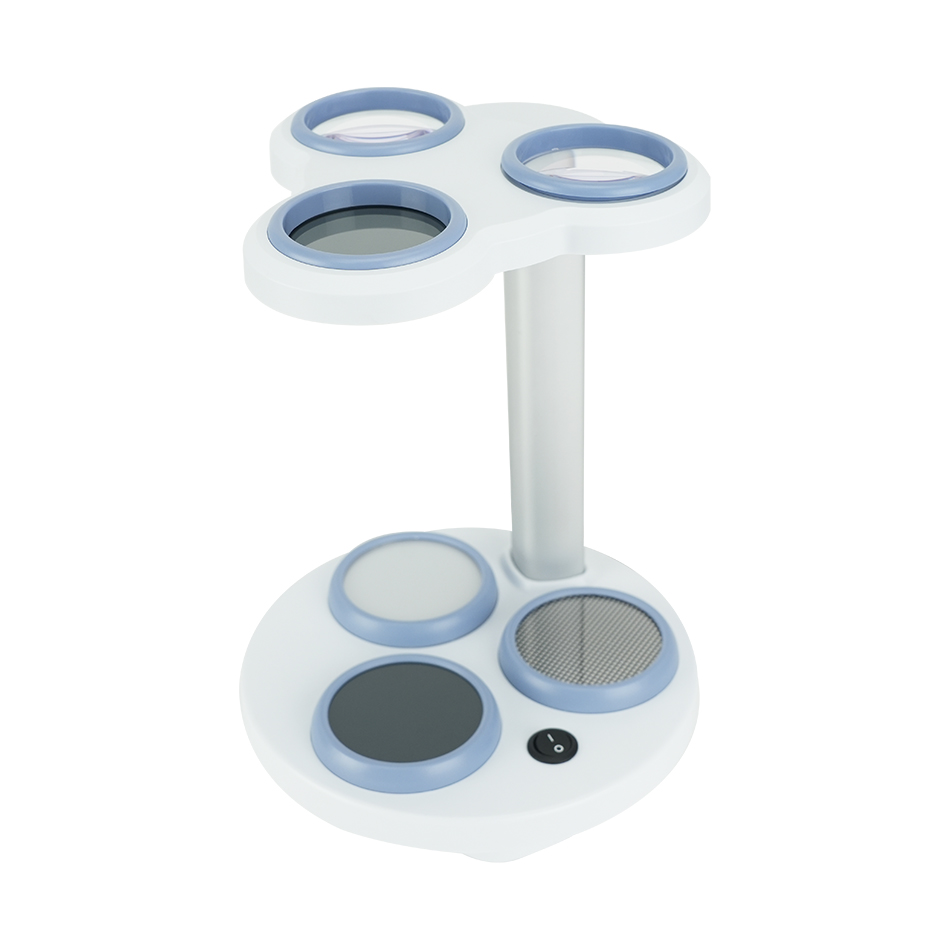
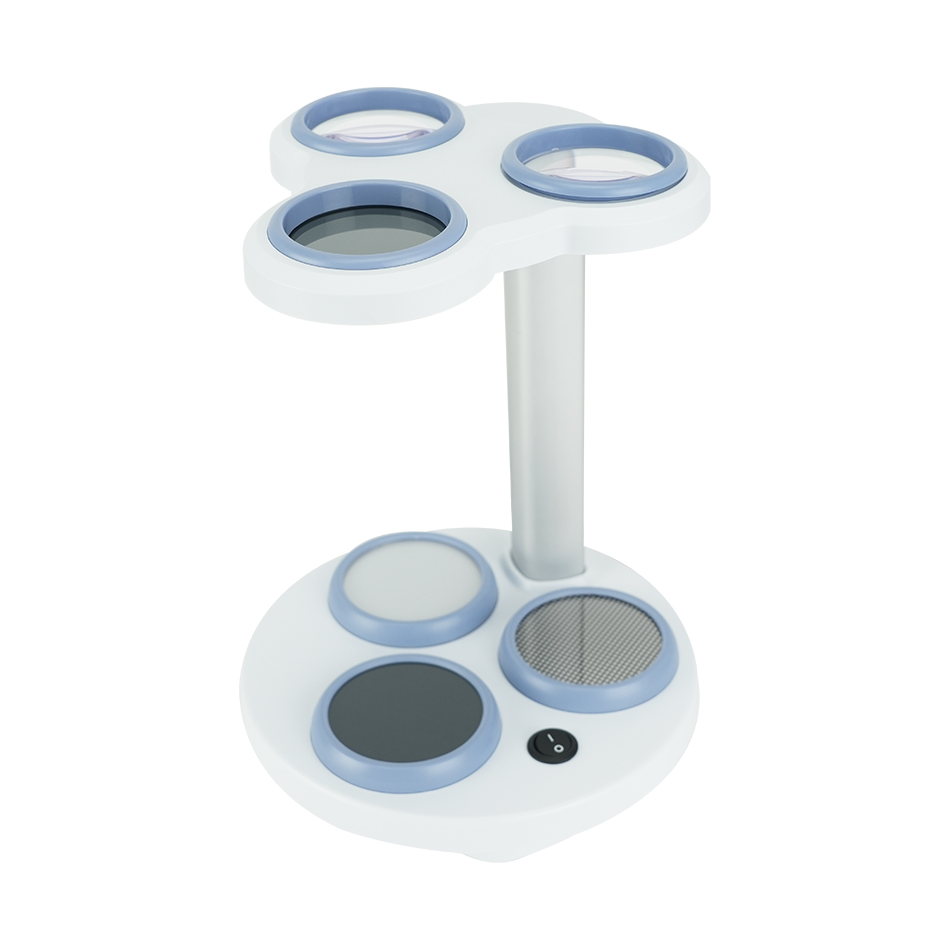
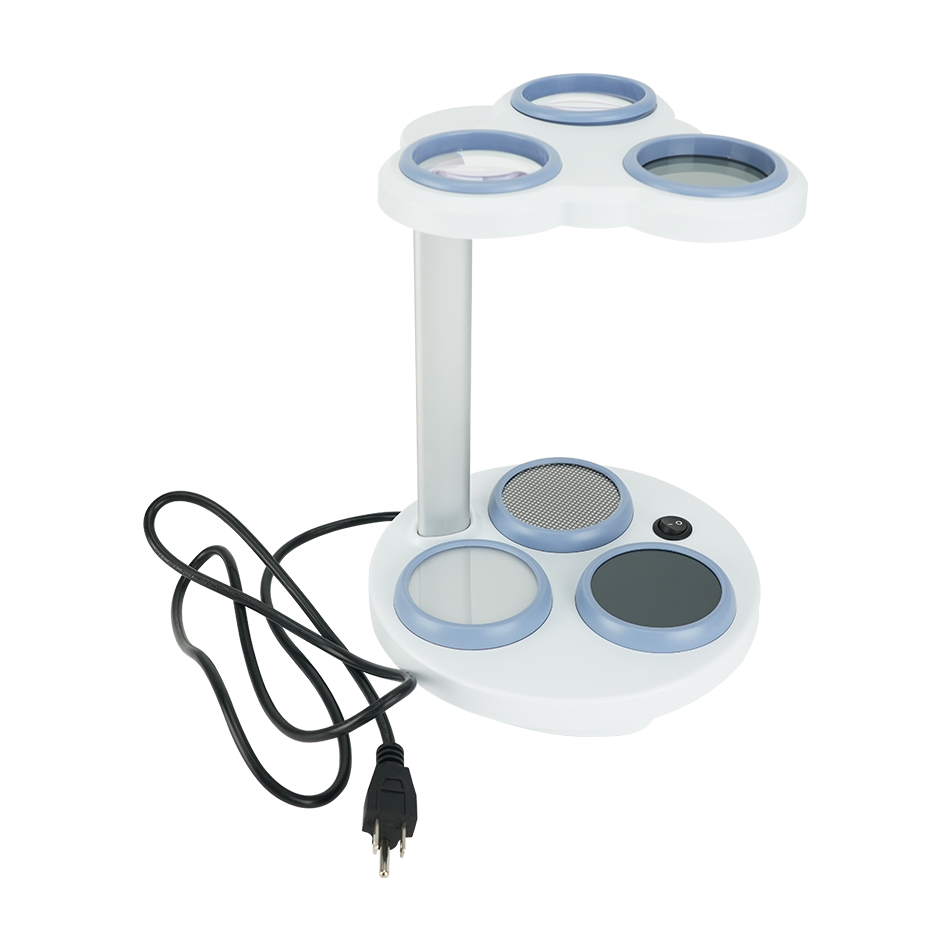
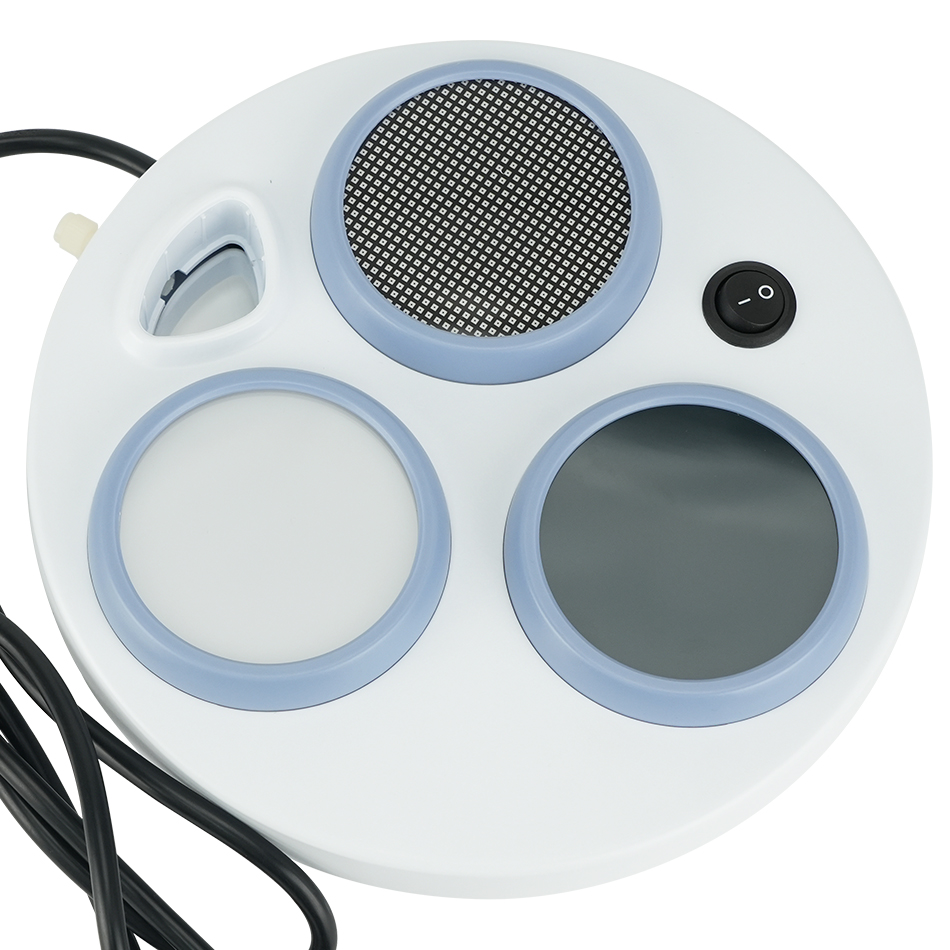
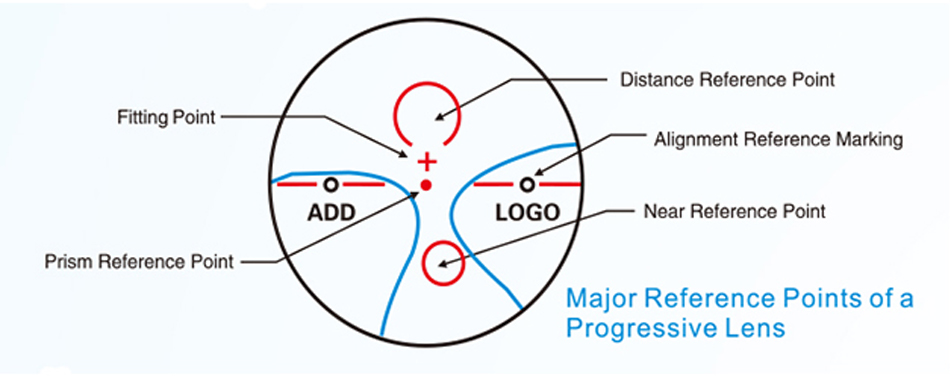
1. The device will greatly assist in the quick and easy location of the various manufacturers' marks placed on the progressive lenses
2. This is achieved by special background contrasting and lighting
3. Adjustable inclination for a better reading
4. LED bulbs
5. The mounted magnifier assists in the reading of these marks (Manufacturers' marks, Lens type ID, Added power)
6. Test the lens strain to avoid the new blurry area
7. Check the quality if the surface and coating of the lens
A. Testing the Lens Strain
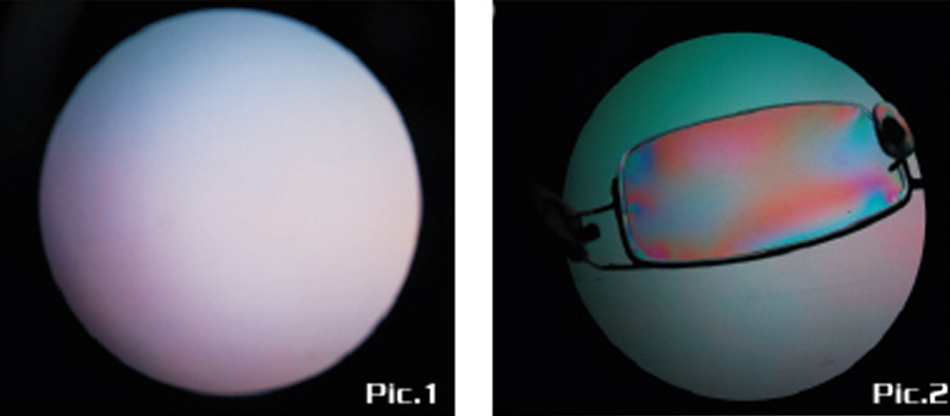
1. Power on. Hold the lens between the light source and the polarized filter and check.
2. If it shows the same as Pic.2, the lens strain is not in a balance. The imbalance is proportional to the darkness of the color. The lens strain can be reduced by edging the darkest part of the lens.
3. If the lens strain is not kept in balance, the patient feels comfortable when he looks straight ahead, but when he looks something aside, he feels uncomfortable and has unclear view. This situation usually appears on the full or half frame glasses, but not for the rimless ones.
4. The strain of PC lens can not be avoided. However, the imaging quality will be much better if the lens strain is small.
B. PAL Identifier
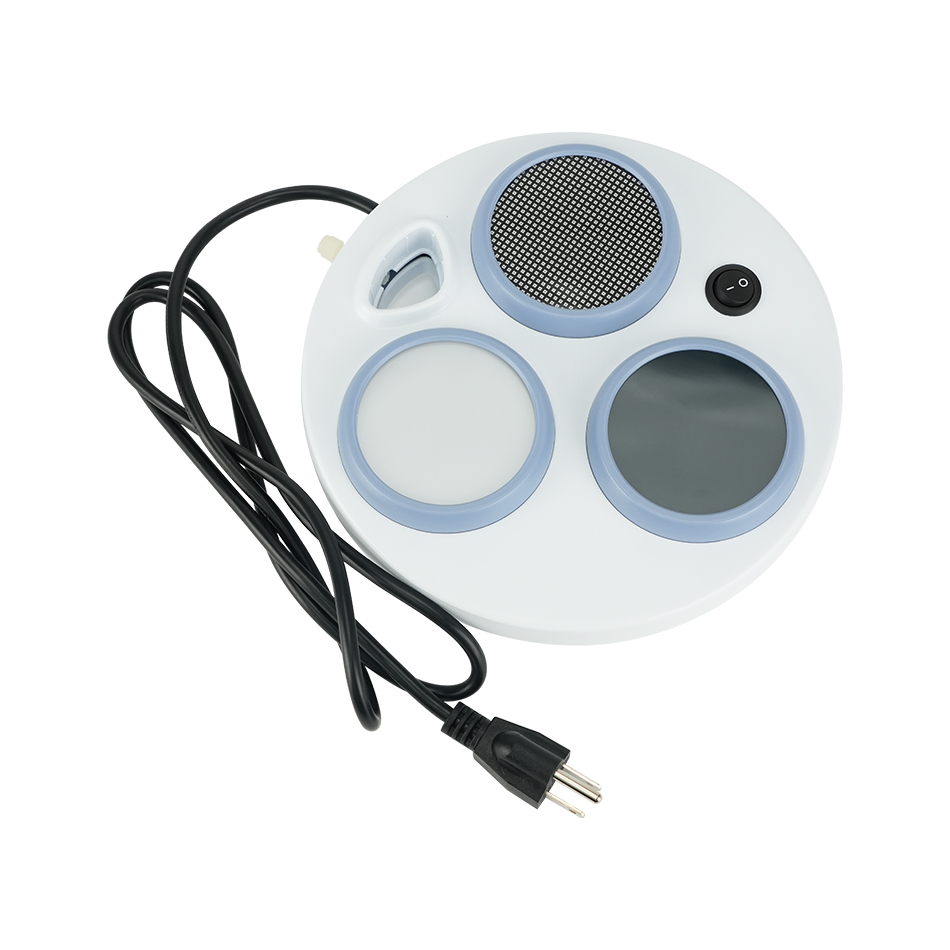
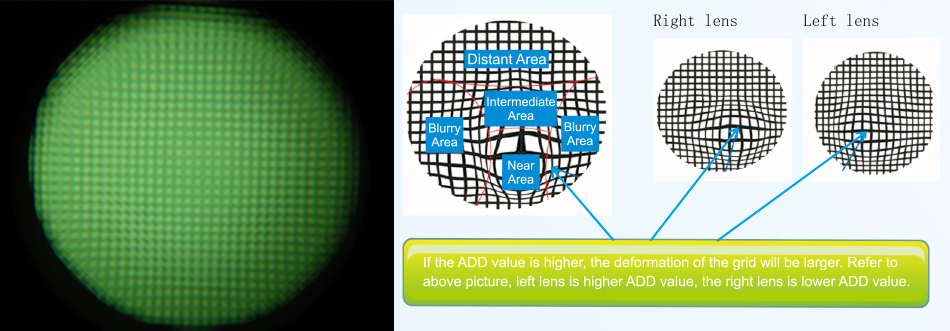
1. Put the lens above the parallel light grid and observe the four areas of the lens.
2. It is easy to study and mark.
C. Showing the invisible marks
1. Put the lens on the grid and observe it with the above magnifier.
2. After confirming the four areas, keep the distant area and near area in a horizontal line and find out the invisible marks on both sides.
3. ADD value is usually on one side and the brand marks would be on the other side.
D. Testing the quality of the lens
1. It is convenient to observe the surface of the lens with the light and the magnifier.
2. Scratching, bubbling and other coating problems can be checked out.
3. In general, this instrument is very important during the process of fitting and testing progressive lenses.


